I enjoy a good bowl of yogurt. But those little cups you buy at the store, for $1 each? That’s way too much of a markup for me. So we usually buy the bigger tubs. But unless you’re buying organic yogurt, those tubs can be filled with artificial flavors, colors, and other undesirable stuff. And the organic is so expensive! I decided this week, for my Self Reliant Skill of the Week, to make my very own homemade yogurt.
I did some research, and it seems that making yogurt in the crockpot is the best and easiest way. And, although I can’t say for sure, since I haven’t tried other methods, homemade yogurt in the crockpot IS very easy! The “hardest” part is the waiting. But, while you are waiting, you get to do all kinds of stuff….read a book, do your chores, or (my favorite) sleep! It really is a pretty much hands-off technique.
Why you should make homemade yogurt
It’s so nice to know exactly what is going into your yogurt. It’s just milk, and a small amount of yogurt with live cultures. If you prefer to have flavor rather than plain yogurt, you can add some vanilla and sugar. Then you can add whatever other flavors you desire after it’s done. So nice to enjoy with some granola or fruit as a snack!
This method also gives you a good amount of whey, which is useful for lots of other things. You can drink it yourself (which I wouldn’t do personally), add it to smoothies, give it to your pets, or start other ferments with it. Here are some other great uses for whey.
This homemade yogurt is also very economical. I spent probably $1.50 for a quart of yogurt! You can use any kind of milk, except ultra pasteurized. Ultra pasteurized has been heated to an extent that it doesn’t even allow the beneficial bacteria to grow. So go get you some milk and let’s do this!
Homemade yogurt ingredients:
1/2 gallon milk (8 cups) milk – can be raw, pasteurized (just not ultra pasteurized), whole, or skim
1/2 cup plain yogurt with live active cultures
1 tablespoon vanilla extract (optional)
1/2 cup sugar (optional)
If you want plain yogurt, you can omit the sugar and vanilla. I used it in mine because my family aren’t fans of plain yogurt. We like ours with a little sweetness to temper the tanginess.
Step 1:
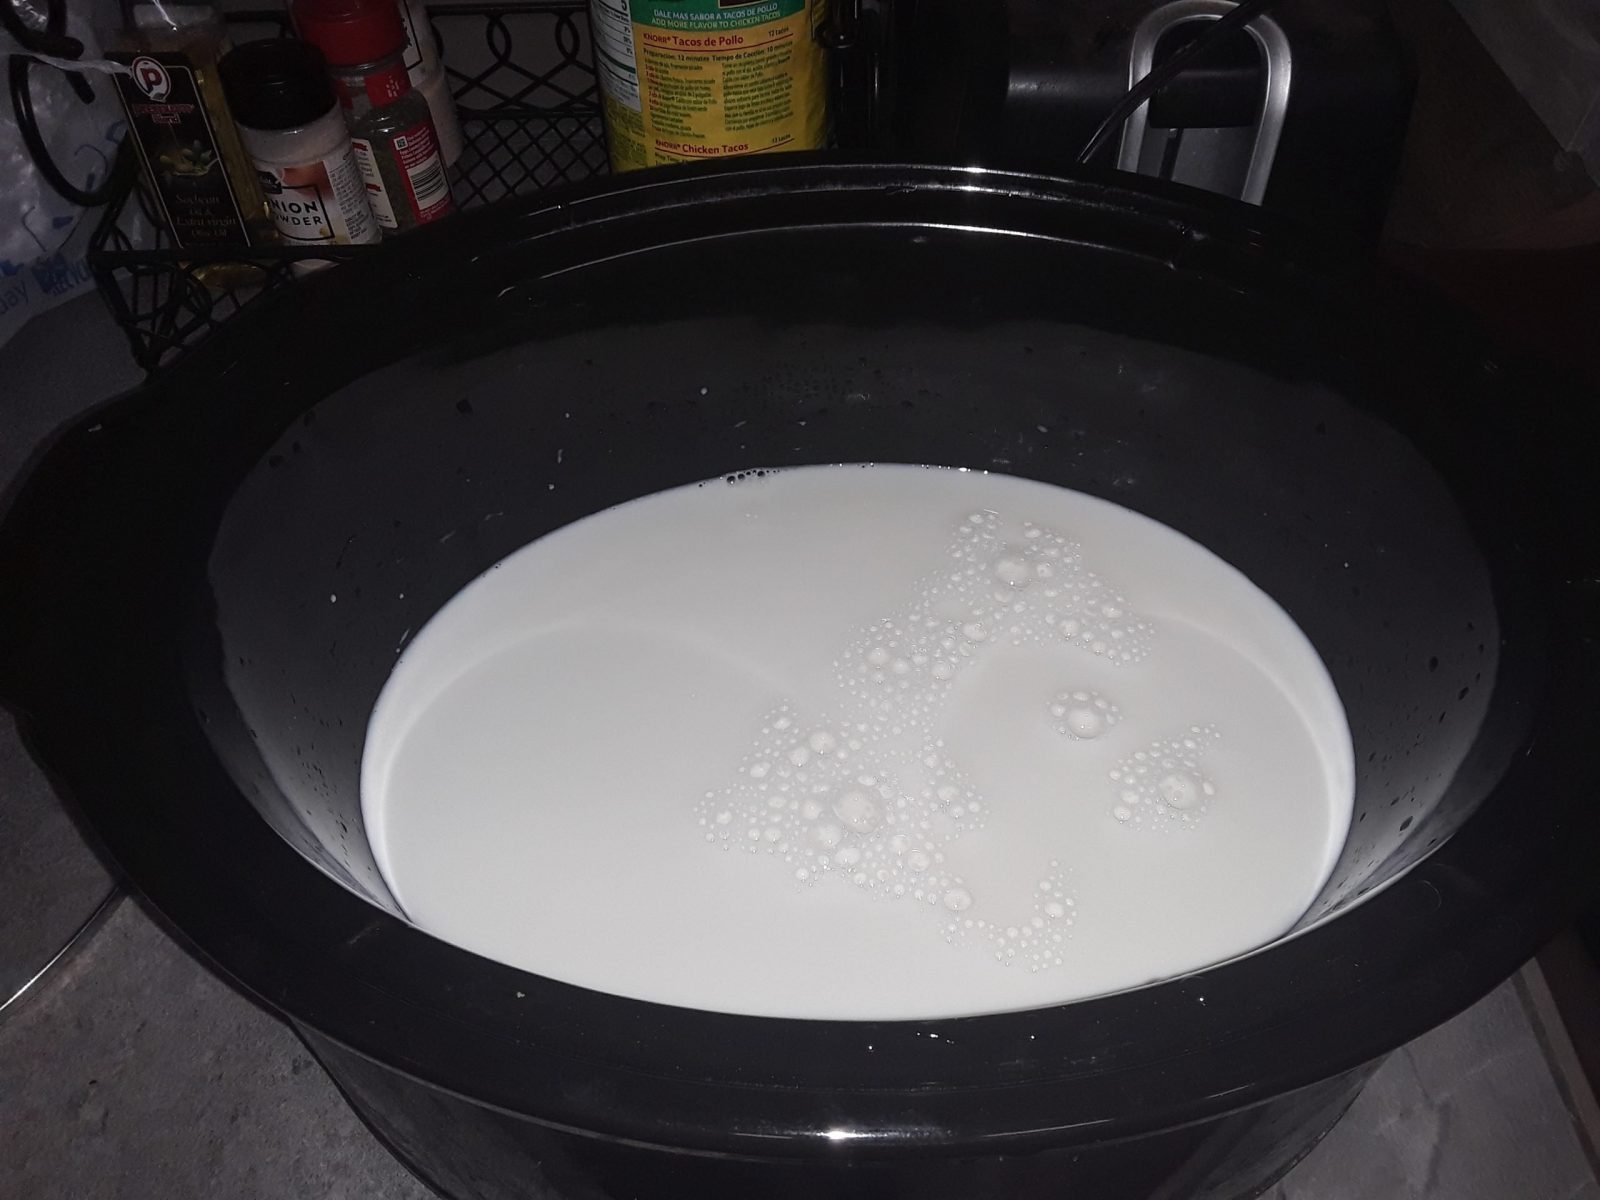
Start with a clean crockpot with a lid. Pour 1/2 gallon of milk into the crockpot, and turn the crockpot on low. Put the lid on, set a timer for 2 hours 45 minutes, and walk away. This will get the milk up to 185 degrees Fahrenheit. You just want to scald the milk, not fully cook it. Make sure The Hubs doesn’t clear out your timer like mine did!
Step 2:
After the timer goes off, turn off the crockpot and unplug it. If you are adding vanilla and sugar, whisk it in now. If not, just leave the lid on. Leaving the lid on, allow the milk to cool in the crockpot for about 3 hours. This should allow the temperature of the milk to drop to 110 degrees Fahrenheit.
Step 3:
Once the milk is cooled to 110 degrees, ladle 2 cups of the warmed milk into a bowl. Whisk in 1/2 cup of your plain yogurt. This is your starter. Pour this milk and starter back into the crockpot with the rest of the scalded milk and stir gently.
Step 4:
Put the lid back on the crockpot, and wrap it in a large towel. I know, this seems weird, but it’s to help keep the temperature more constant. Put the whole entire crockpot, towel and all, into the oven. Do NOT turn the oven on, but turn the oven light on. This helps keep your starter at 110 degrees, which is the optimal temperature for yogurt making. Your yogurt needs to culture for 8-10 hours. The longer it sits, the tangier your yogurt will be. This time I let it culture for about 10 hours, and it’s tangier than what we’re used to. Next time I’ll do 8 hours.
Step 5:
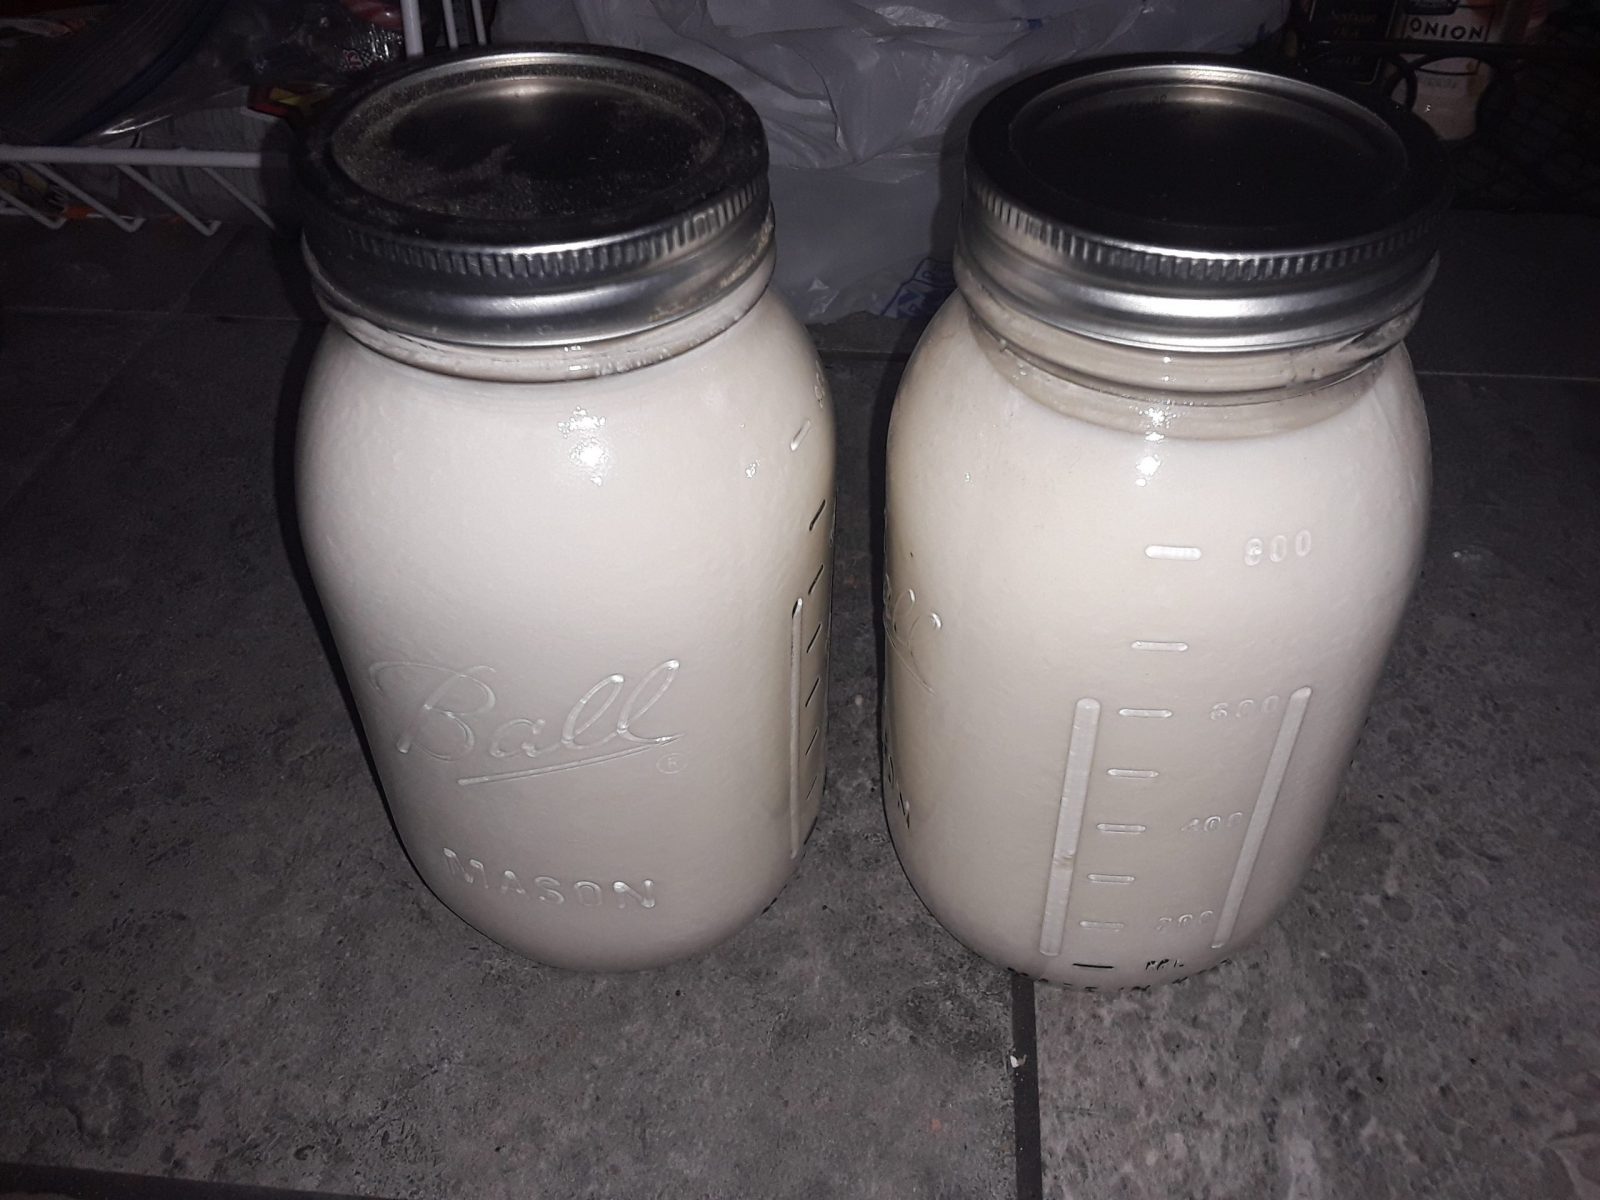
After the 8-10 hours of culturing, take the crockpot out of the oven. Spoon the yogurt into air tight containers (I used mason jars), and chill in the fridge for 3-4 hours. At this point, you should have about 2 quarts of yogurt. If you like the consistency of your yogurt at this point, you’re done! I didn’t like how runny it was, as we prefer a thicker yogurt. Plus, I wanted the whey for another project! So I proceeded to Step 6.
Step 6 (optional):
If you want a thicker yogurt, line a colander with a single layer of paper towels, and place over a bowl. Pour your yogurt into the colander, and place back in the fridge for 2-3 hours. This will allow the whey to drip from the yogurt, and into the bowl. When it’s the consistency you like, spoon the yogurt out of the colander (being careful not to rip the paper towels), and put back into an air tight container. Again, I used mason jars.
Note: this will greatly reduce the amount of yogurt that you have. Mine was reduced by half, so I was left with 1 quart of yogurt, and a half a quart of whey.
Enjoying your homemade yogurt
This homemade yogurt is great on its own, or you can dress it up with whatever add-ins you want. I love it as-is with granola, but some honey, maple syrup, or fruit sauce would be delectable as well. You could even go further with your yogurt and make yogurt cheese! Like a tangy cream cheese, it would be a great addition to a charcuterie board!
Keep your yogurt in the fridge, and be sure and use your yogurt within 2 weeks. The whey can be stored in the fridge for a month or so.
Go make some of your own!
This post may be shared on Family Homesteading and Off The Grid Blog Hop, Simple Homestead Blog Hop, Farm Fresh Tuesday, and Old Paths to New Homesteading & Self-Reliant Living.


