I’ll admit it. I’m a bit of a soda addict. So when I found out you can make healthy lacto-fermented soda with whey, I just had to try it myself! This episode of Self Reliant Skill of the Week covers exactly that.
Remember last week when I made homemade yogurt in the crockpot? I decided beforehand that I wanted to make it almost no-waste, so I planned it out to make these sodas with the whey that I strained off.
You might be more familiar with the term “fermented” than with “lacto-fermented”. But they are pretty similar. And if you’ve had a few kinds of fermented foods, chances are they have been lacto-fermented.
What is lacto-fermentation?
Lacto-fermentation is a process used to preserve certain vegetables and fruits. It doesn’t preserve them for as long as canning or pickling, but your food can be fermented, kept in the fridge, and enjoyed for a few months.
Some ferments, such as beer or wine, use yeast to convert sugars into alcohol (which is a preservation agent), lacto-fermented foods use bacteria to preserve the food.
Lactic bacteria (also known as Lactobacillus) quickly and efficiently use lactose or other sugars to turn them to lactic acid. Lacto-fermentation preserves the food with lactic acid. Lactic acid was first discovered and studied using milk products, thus the term “lactic”. The lacto-fermentation process doesn’t have to involve milk, however, using whey can be an efficient way to speed up the fermentation process.
Most lacto-fermentation processes involve storing vegetables in a salt water brine, and left to sit at room temperature for several days. Harmful bacteria can’t survive in the salty environment, but the lactic bacteria works its magic there. Lactobacillus is present on the surface of all plants, especially those that grow close to or in the ground. But it is also present in the human body – mostly in the orifices.
Beyond just preserving the food, lacto-fermentation also increases the vitamin content and digestibility of the food. Lacto-fermented foods are high in probiotics and are considered very good for gut health.

Common lacto-fermented foods
Almost every region in the world has common traditional lacto-fermented foods that they eat on a regular basis. Sauerkraut, yogurt, and fermented pickles and vegetables are very common in Europe. In some coastal regions, like Alaska, fermented fish has been a traditional staple. Asia is known for fermented sauces, miso, and vegetables like kimchi.
The U.S., being more “industrialized” and less traditional, hasn’t traditionally embraced lacto-fermentation as much as most other areas of the world. Kefir and kombucha, however, are becoming more mainstream here. And lots of people in the U.S. enjoy good cheese (which is also fermented). Overall, though, most Americans seem to prefer the ease of pickling over the art of fermenting.
Even though fermenting can feel intimidating, it really is easy. And there are fermentation tools out there that can help make it even easier!
Lacto-fermented sodas
Making sodas using lacto-fermentation is a little different. Since most people use juices instead of whole fruit to make their sodas, there is less Lactobacillus present. That is where whey comes in handy in making them.
Lacto-fermented sodas are much better for us than commercial soda. They are naturally fizzy, without any extra questionable ingredients. These sodas contain more vitamins, nutrients, enzymes, and protein than their commercial counterparts. Plus, they have less sugar AND pack some probiotics into them. Talk about a win-win!
To explain the lower sugar, since this is homemade, you control the amount of sugar and any other ingredients. Some fruits have enough sugar that you don’t even need much added to create a sweet, tasty soda. The process of fermenting also lowers the sugar content of lacto-fermented sodas. The sugar becomes food for the good bacteria that helps preserve the soda. So your finished product has less sugar than what you added in the first place.
In this episode of the Self Reliant Skill of the Week, I made 4 different sodas that I’m excited to share with you!
Lacto-fermented Ginger Ale
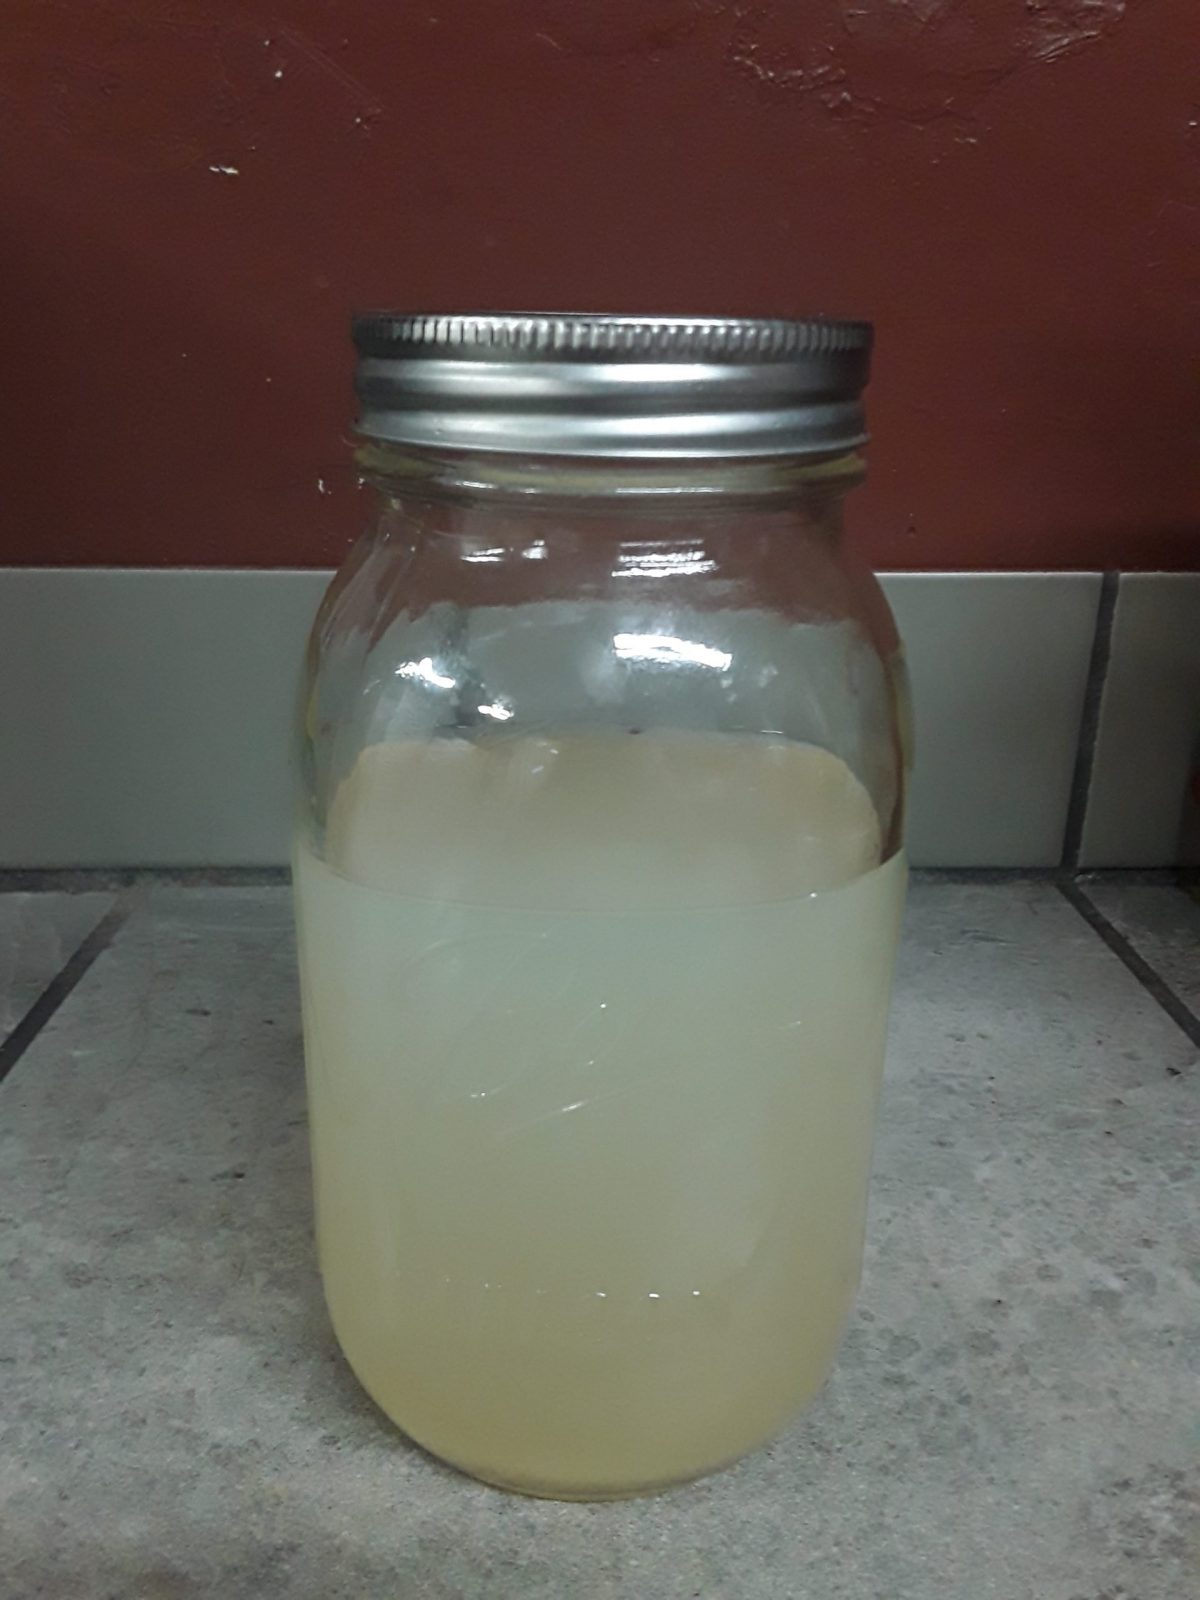
Ginger ale was at the top of my list to try to make myself. I’ve seen 2 different ways to make it. You can either make your own ginger bug and make numerous bottles of soda from it, or you can use whey and do a single bottle or two easily. Since I had the whey available, and didn’t have enough time to establish a healthy ginger bug, I opted for the whey version.
Ingredients:
4 cups filtered water
3/4 cup sugar
4 inch piece of ginger, peeled and diced
1/2 cup whey
Directions:
Take a 4 inch piece of ginger, and peel and dice it. Place the ginger in boiling water, and boil for 3 minutes. Remove from heat, and stir in the sugar until it’s fully dissolved. Pour into glass jar and allow to cool to room temperature (no more than 80 degrees). Gently stir in the whey. Let this mixture sit on the countertop for 2-6 days, stirring or shaking daily. The time needed depends on how fizzy you want it.
If using a mason jar with a regular lid, be sure to “burp” it every day, allowing the gasses to escape. When your soda is as fizzy as you want, you can put in the fridge for up to about a week. It’s best to use a swing-top bottle for storing in the fridge, as these let small amounts of gasses to escape. This reduces the chance of the jar exploding if you forget about it or leave it in too long.
My personal results:
I made my sodas on Tuesday, and left on the counter until Thursday. At that point, I decided that it wasn’t working fast enough, so I moved it to the top of the fridge (where it’s warmer). Warmer conditions make a faster ferment. I really should have started the sodas on the top of the fridge from day 1. On Friday (after 3 days), when I tried the ginger ale, the taste was good, but it wasn’t anywhere near as fizzy as I wanted. I’m thinking I’ll let it sit on top of the fridge for a total of 7 days or so.
Lacto-fermented Elderberry Soda
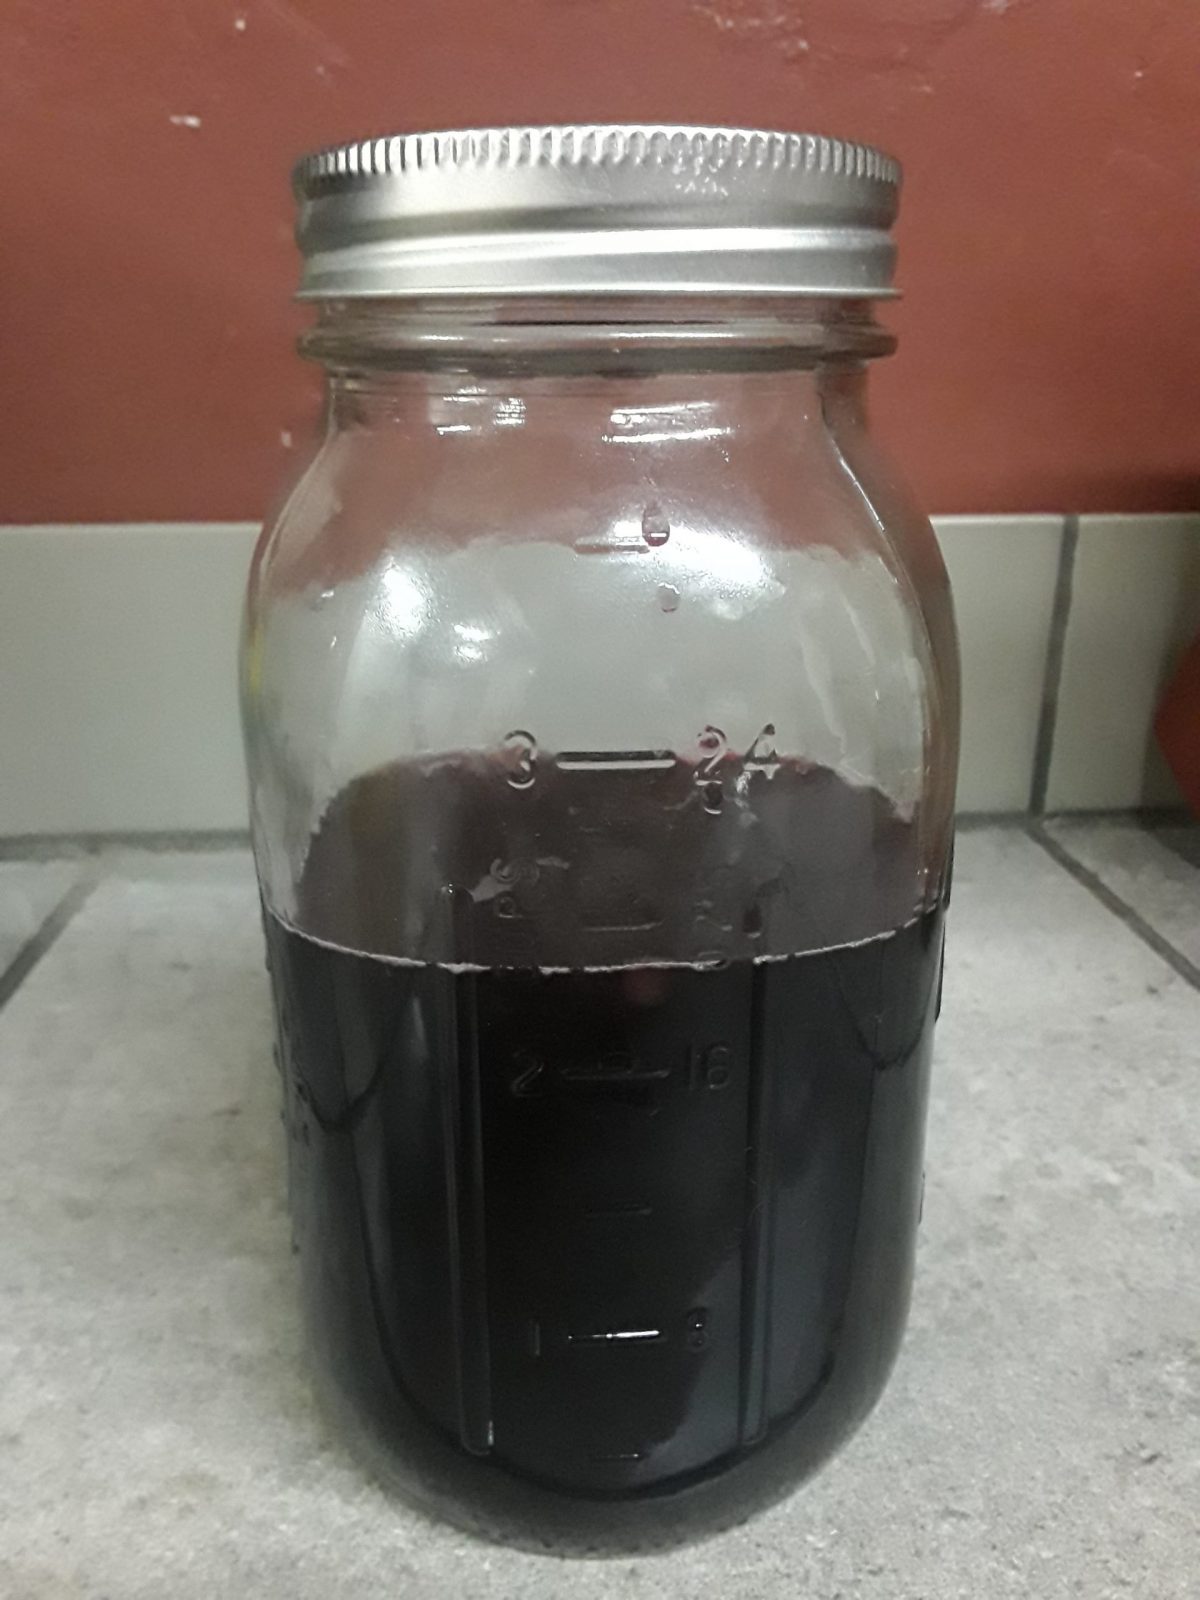
I had some elderberries that I had foraged in the late summer in the freezer, and since I’ve been sick lately, I thought they would make a great soda. Elderberries have some wonderful anti-viral properties and are great for boosting the immune system. The first step of the process was very similar to making elderberry syrup, but with sugar instead of honey.
Ingredients:
4 cups elderberries
4 cups water
3/4 cup sugar
1/2 tsp. cloves
1/2 Tbsp. cinnamon
2 Tbsp. whey
Directions:
Put elderberries in a pot and add 4 cups water. Simmer over medium-low heat for 30 minutes. Strain out elderberries. Add sugar and stir to dissolve. Pour into a jar and allow to cool to room temperature (no more than 80 degrees Fahrenheit). Add the whey and close the lid. Tip gently back and forth to incorporate the whey. Let sit on counter at room temperature for 3-7 days, until it’s as fizzy as you like.
If using a mason jar with a regular lid, be sure to “burp” it every day, allowing the gasses to escape. When your soda is as fizzy as you want, you can put in the fridge for up to about a week. It’s best to use a swing-top bottle for storing in the fridge, as these let small amounts of gasses to escape. This reduces the chance of the jar exploding if you forget about it or leave it in too long.
My personal results:
After letting this soda sit for 3 days, the taste was really good, but it wasn’t fizzy. It reminded me of a spiced grape juice. It definitely needs more time to ferment to get the fizzies up. I think I’ll keep it in a warmer spot for another 4 days.
Lacto-fermented Elderflower Soda
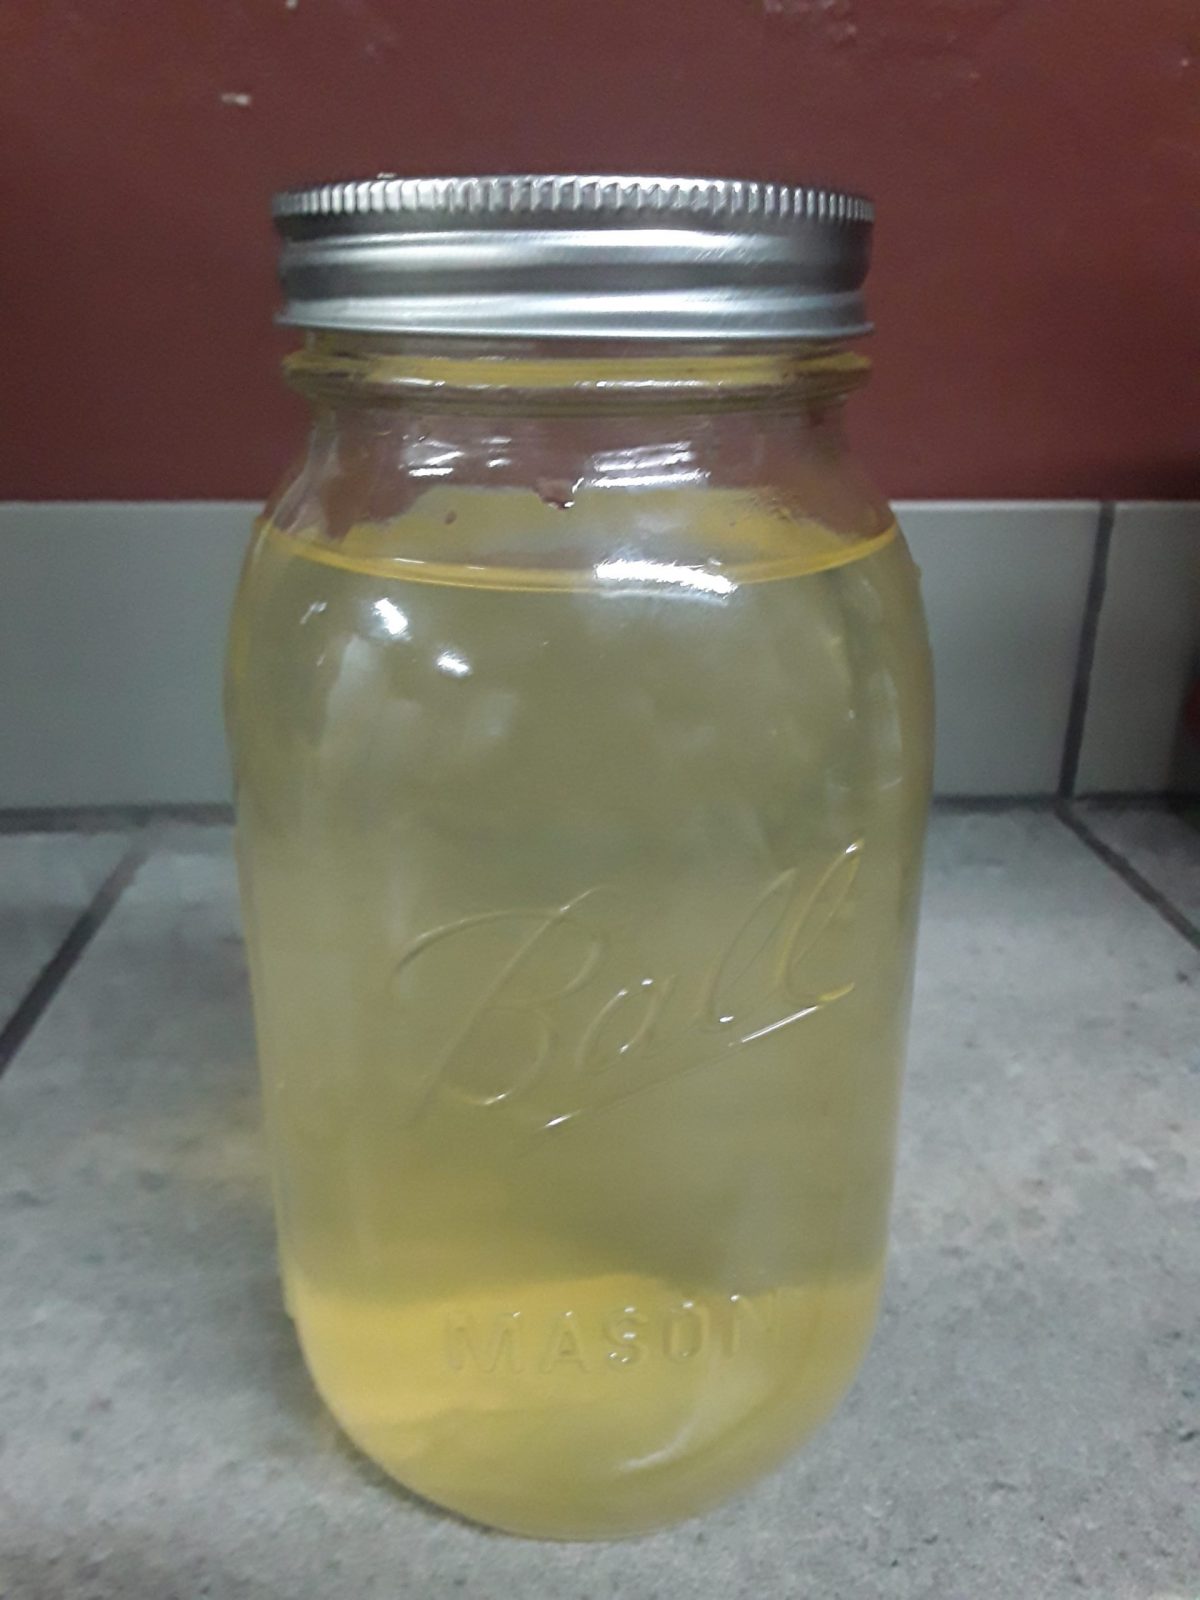
I had made some elderflower syrup this spring when the elders were in bloom. I had stored this in the freezer, so I took out a quart to thaw in order to make this. This one was really simple, since I had already made the syrup. I simply diluted it since it was really strong and really sweet, then added the whey. You can find my recipe for elderflower syrup (cordial) here.
Ingredients:
2 cups elderflower syrup
2 cups filtered water
1/4 cup whey
Directions:
Combine elderflower syrup and water in a quart jar, then add 1/4 cup whey. Tip gently back and forth to incorporate the whey. Put lid on tightly and allow to sit on the counter at room temperature for 3-7 days.
If using a mason jar with a regular lid, be sure to “burp” it every day, allowing the gasses to escape. When your soda is as fizzy as you want, you can put in the fridge for up to about a week. It’s best to use a swing-top bottle for storing in the fridge, as these let small amounts of gasses to escape. This reduces the chance of the jar exploding if you forget about it or leave it in too long.
My personal results:
This soda was my least favorite. After the 3 days, it just tasted like the elderflower syrup that I had drank this spring diluted with water. No fizziness at all. I’ll let it keep fermenting for another 4 days and see if it develops a fizz.
Tepache
The lacto-fermented soda that I’m most excited about is Tepache. Tepache is a traditional Mexican fermented pineapple drink. And I think the coolest thing about it is that it uses the part of the pineapple that gets thrown away – the rind! So you can buy a pineapple, cut off the rind like normal, eat the pineapple, and still have something to ferment. No waste!

Ingredients:
Rind from 1 pineapple
1-2 cups filtered water
1 cup sugar
1 Tbsp. cinnamon
1 tsp. cloves
1 tsp anise seed (if desired)
1/4 cup whey
Directions:
Cut the rind off the pineapple, leaving just a little of the fruit on it. Cut the rind up into smaller pieces that you can fit into the jar. Stuff as much of the rind as you can into the jar. Make your simple syrup by boiling the water, removing from heat, and stirring in the sugar until it’s dissolved. Pour this syrup in the jar, then pour in your seasonings. Allow to cool to room temperature, then add the whey. Make sure that your rind stays under the liquid at all times during the fermentation process. You can use a fermentation weight, but if you don’t have one, you can do like I did in my video and use a ziplock bag with some water in it.
My personal results:
This one is my personal favorite! It has lots of fizz, so much so that I had to open it very slowly on the 3rd day in order to not have it spew everywhere. The flavor is nice, but I think it would actually be fuller if left another day or two. You should definitely try this one!
Do you want to try these for yourself?
Making lacto-fermented sodas is a fun beginner fermenting project that anyone can do. Are you going to try making these for yourself? If you have tried it, won’t you tell us how it went in the comments?
This post may be shared on Family Homesteading and Off The Grid Blog Hop, Simple Homestead Blog Hop, Farm Fresh Tuesday, and Old Paths to New Homesteading & Self-Reliant Living.


